Creating a Claim
Check to make sure the client you wish to bill for has their insurance billing settings configured properly, insured's ID number enter and the relationship to the insured correct. Also make sure the client was scheduled properly (service code and location). Make sure a diagnosis has been assigned by creating a session note. A claim can't be successfully submitted if certain pieces of information are missing from the claim.
When you think you're ready to submit a claim, click on Billing on the blue menu bar of TherapyMate.
Next, click on the Clearinghouse Claims tab. Then click on the Clearinghouse Claims-Direct tab.
Click on Clearinghouse Claims -Direct. Next, click on the + Create button as shown below.
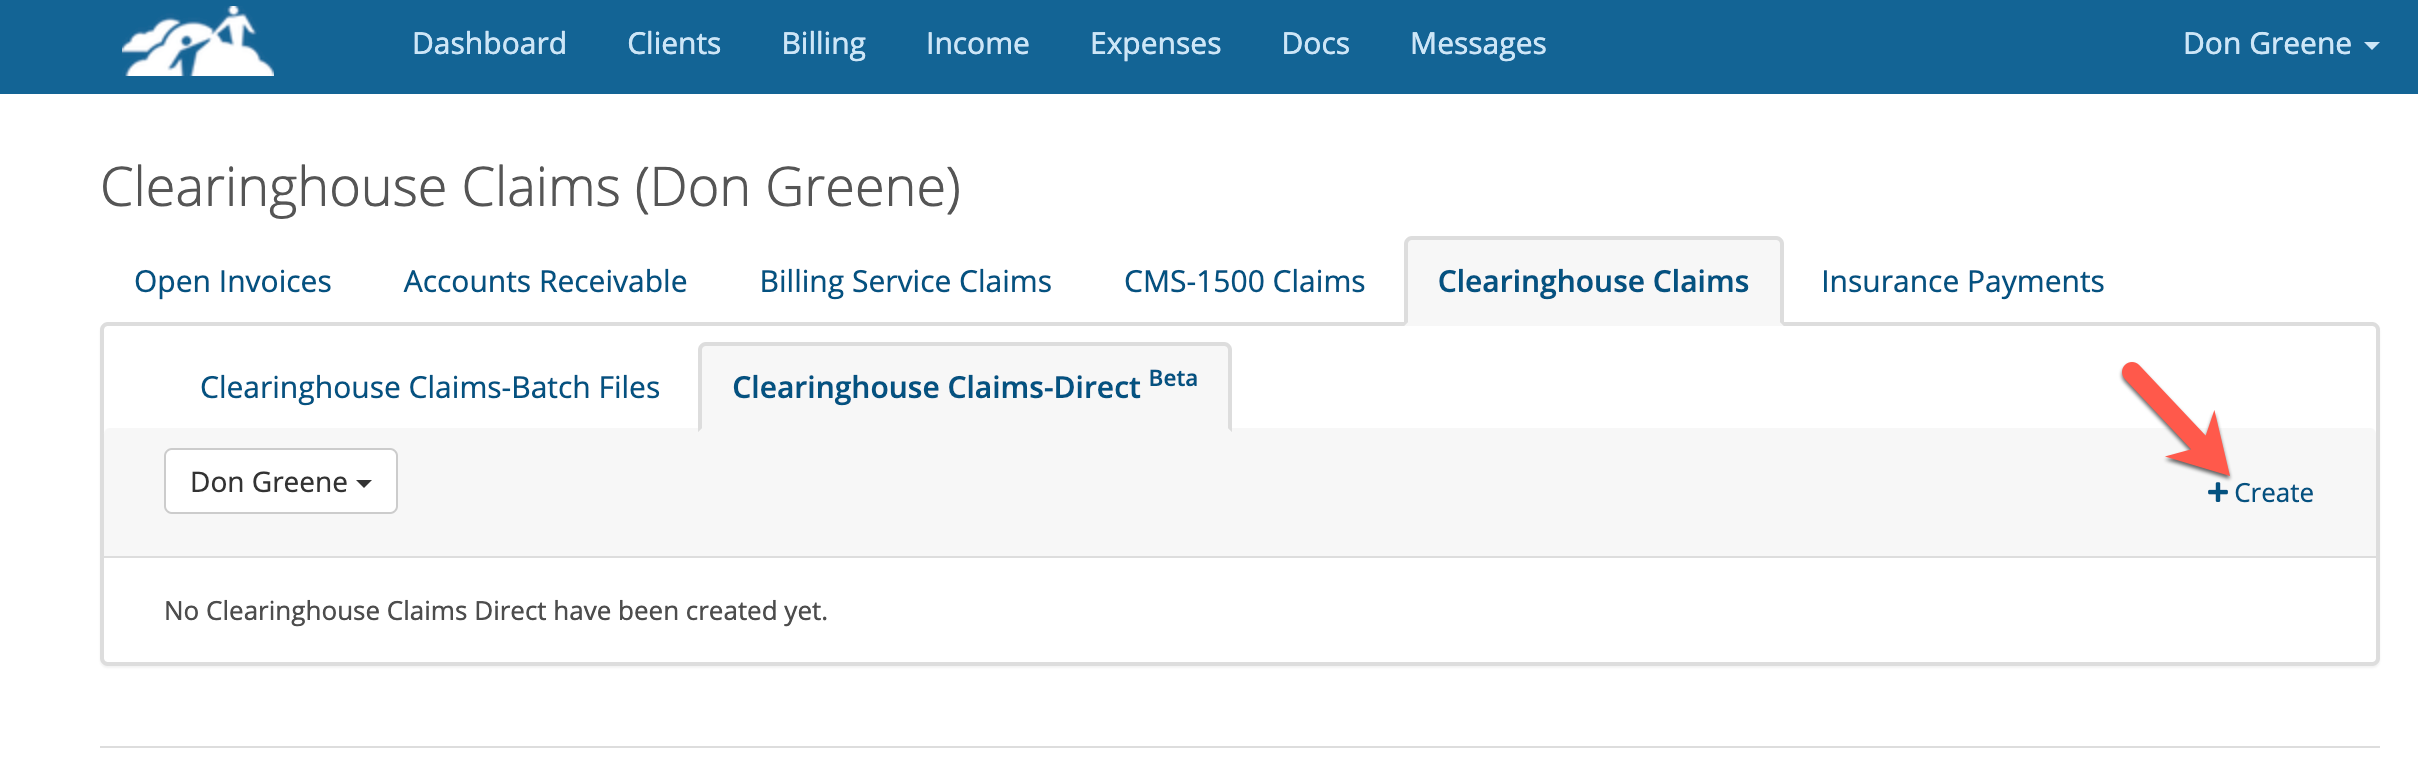
Choose the clinician's name to display a list of the pending claims.
You will see eleven columns with the necessary billing data for each date of service. This is a summary of of the data for each date of service so you can check to see if you're ready to bill for them.
If any of the boxes is empty, you'll need to investigate and make corrections to appointments and in some cases have the clinician make diagnosis corrections on a note.
Also check to make sure the Service Locations and Modifier Codes are appropriated. For example, if the Service Location shows Telehealth, the Modifier Code should be GT or 95 depending on the insurance provider's requirements.
Primary diagnosis codes are also required.
After you have review the data, check the chek boxes on the left next to each claim you wish to send. When you have your selections made, click the blue Select button in the lower left corner.
Sending a Claim
After you have clicked the Select button, the claims you selected will be batched together into a claim file that you will send to Claim.MD. To send the claims, click the UP ARROW as shown below.

When you click the up arrow, some error checking will take place. If there are no errors, you will see a green message bar saying the submission was successful and the up arrow will change to say Acknowledged.
If see an error window or the arrow changes to Rejected, you'll need to click on the button to see what is wrong and fix the issue before it can be re-submitted.
Avoiding Errors and Denied Claims
It is the responsibility of the Practice to ensure each of the client charts and Practice settings are properly configure to avoid errors when submitting claims. The important pages are the client information page and insurance billing settings for each client. If you don't make the proper settings, claims will be rejected and/or errors will occur.
For example:
Make sure that each appointment shows the correct service code, modifier (if applicable) and an assigned diagnosis code(s). The best way to ensure a diagnosis code gets included is to create a session note for each date of service.
If the client has EAP benefits, make sure the EAP checkbox checked (if applicable) on each appointment.
Here is a list of common errors and their possible cause:
What to Do After You Get Paid
1. Compare the Claim.MD Remittance Advices against the client's invoices to make sure the insurance payments were applied correctly.
2. Look to see if there are any new client charges that need to collected.
Getting Started Advice
Try a couple of insurance providers with a few patients until you get comfortable with the process and results. Gradually add more insurance providers and clients. It is possible to be completely switch over with a month or less.