You can create a group progress note for a group session. The group note will be saved in each attendee’s chart when the note is saved. You can also add specific comments to a client’s group note that is just about them. We will show you how this works later in this document.
You create the group progress note by clicking on the Dashboard reminder called “Create a group note” as shown below.

Step #1 – Fill out the group portion of the progress note
You can add information about the group activities, session minutes, document group goals and objectives. The objectives on a group note are specific to the group and are separate from other objectives in a client’s progress notes. In other words, progress note objectives do not carry over to a group note and objectives in group notes do not carry over to a progress note. The client’s diagnosis will carry over from a progress note to a group note and vice versa. You can also track any group assignments. When you save the group progress note a copy of the note will be saved in each attendee’s chart. The screen shot below shows you what this portion of the note looks like.

After you save the Group Progress Note you will be presented with the following screen:
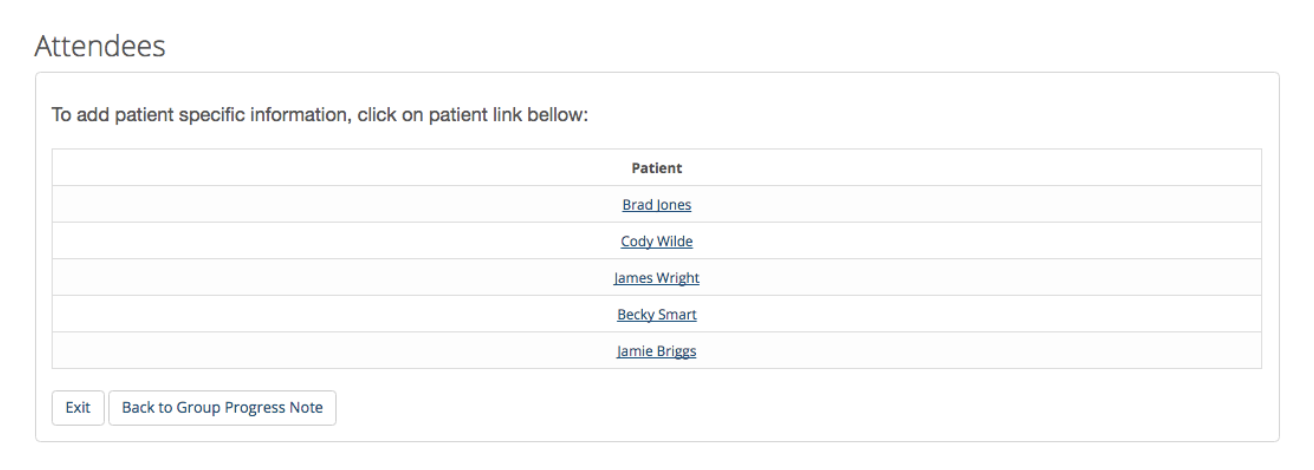
Here is the list of attendees for the session. If you wish to add patient specific comments or other information you can click on a client’s name and complete the patient portion of the Group Progress Note. The client portion is in S.O.A.P format.
Here is what that looks like:
Here is what that looks like:
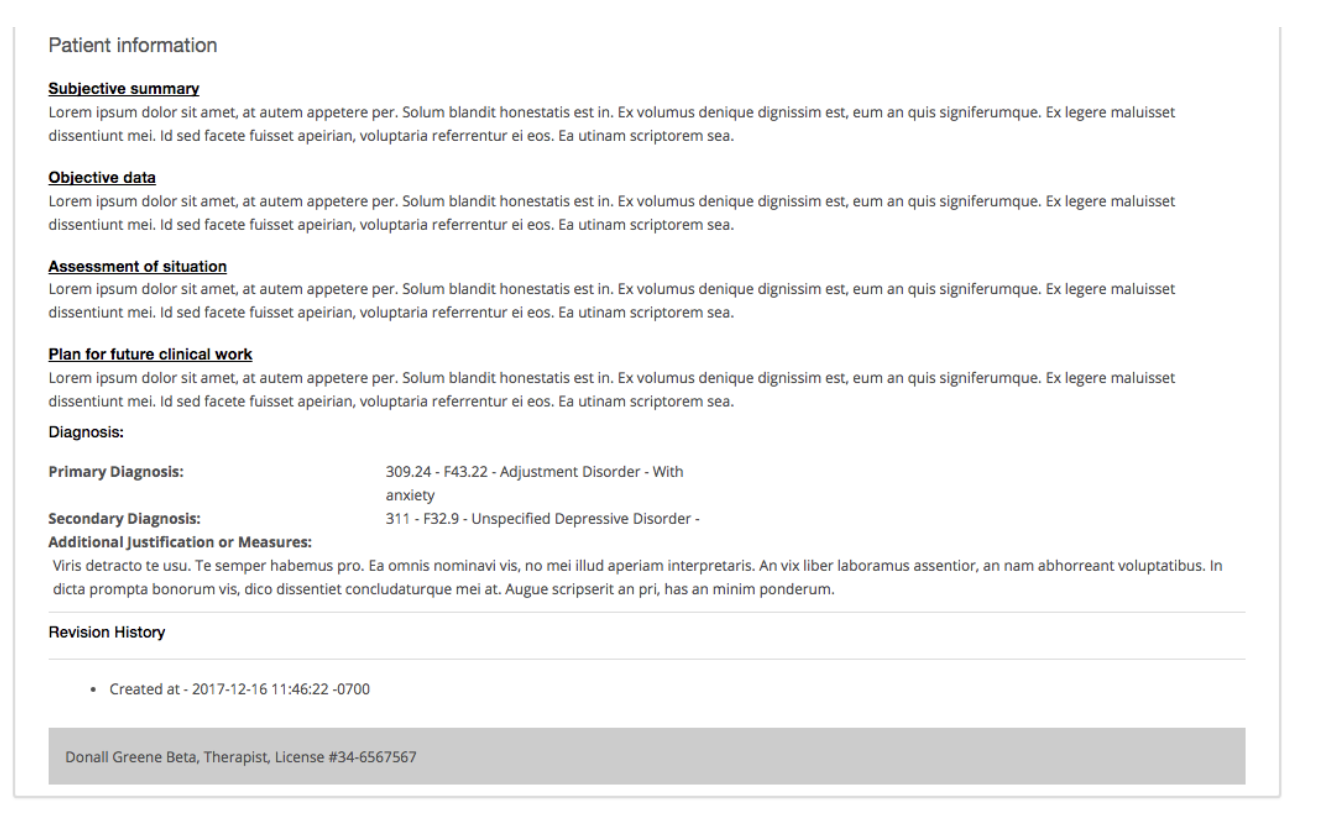
You can complete this area for each client or just one or two if you wish. Be sure to save the information before moving on to the next patient. When you are done, Click “Exit”. If you later need to update the Group Progress Note for an individual attendee you can go to their notes page and edit it.